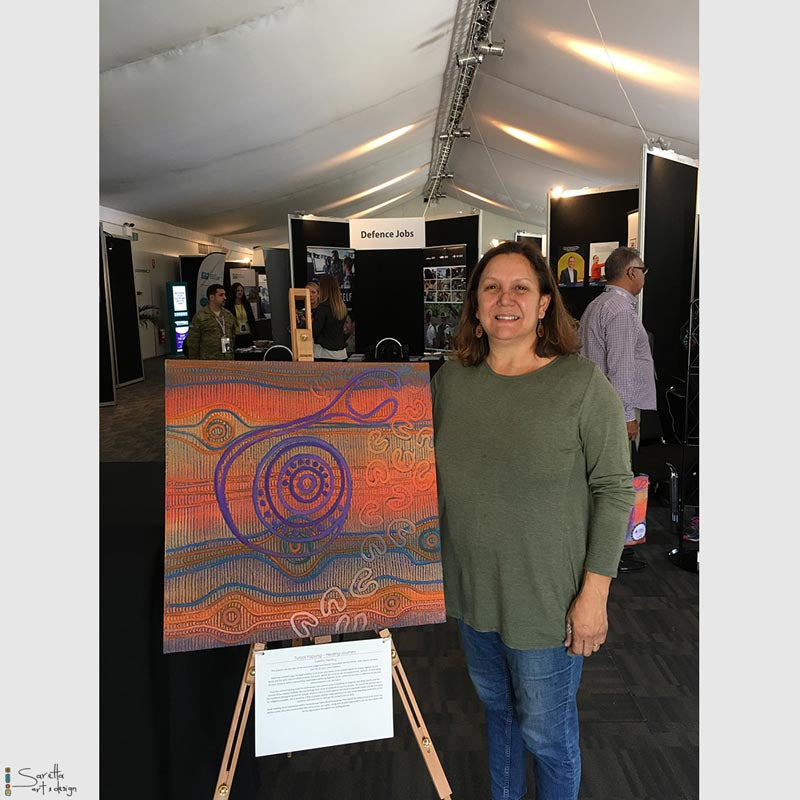
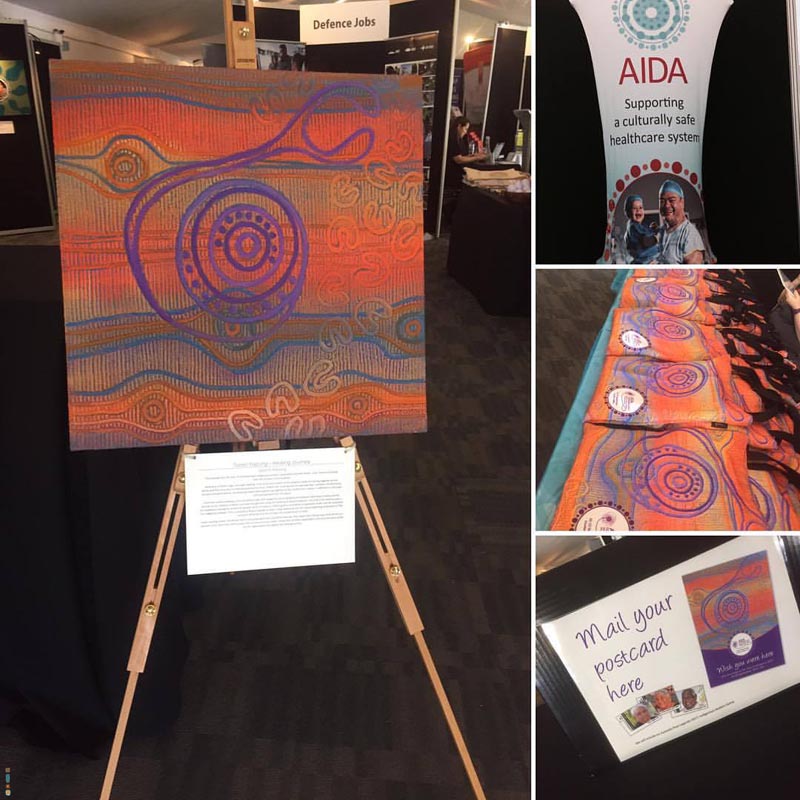


I purchased the scarf on-line as a birthday gift - hoping that my wife would love the orangey tones and blue highlights. I was right - the colours are as vibrant as they are in the on-line photos. the quality of the silk seems good too - the scarf is ideal for autumn, spring and even summer wear here in Melbourne.
I must admit I had my fingers crossed somewhat - I've been burnt a few times by on-line products that don't live up to their advertised looks/size etc or expected quality. No problems with any of that with Saretta !
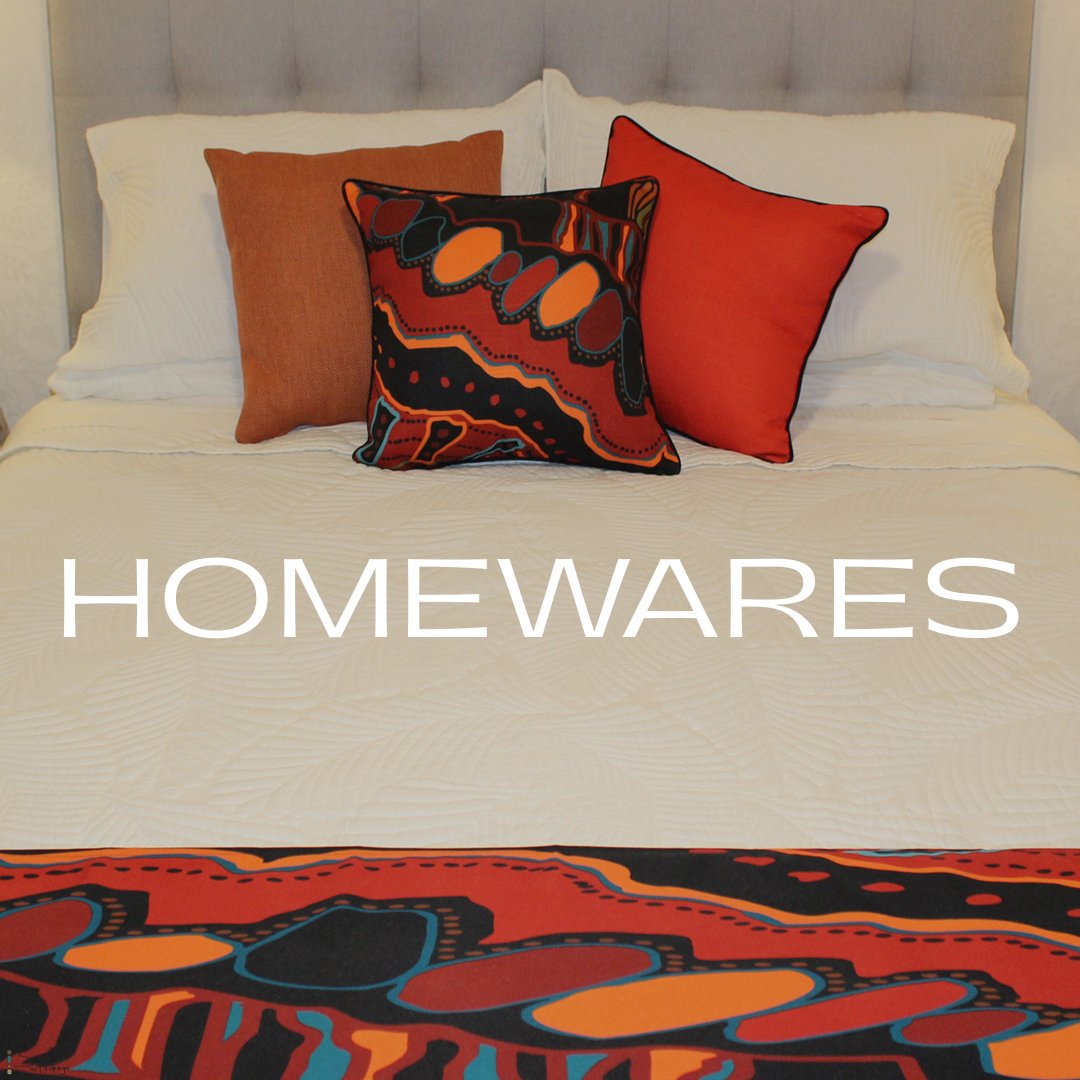
I like the designs on my cushions and good quality but I really don’t like the brand name in large print so only 4 stars from me.
Love, love, love the table runners. I've bought 3. The colours and designs are glorious and the material is sturdy but light weight.